Camel and Crab Drawing
Peach Creek Printing
Now ~ Peach Creek Photos & Printing ~
Now selling digital photos on Etsy! Choose from photos, request a photo, or use your own photo, have photos and logos printed on shirts, mugs and more!
You can also visit Shutterstock to view my portfolio and purchase photographs there.
Thank you for stopping by.May you find Joy and Inspiration!Best wishes!!
Old Sketch Book
Recently, my step Mom asked me, "Since when could you draw?"
Hmmm? I'm didn't know that I could 😂 But, I'd always wanted to learn!
So I pulled out my old rescued sketch book and thought about how I had been saying that I can not draw for quite a long time. But this does not sound right, because you see, I believe that anyone can learn things. Take gardening for example, I thought that I had a 'black thumb', but it was a matter of figuring out what needs to be done and practice doing it. With this idea I tried, and low and behold, I managed to keep plants alive! It is only when I do not practice what I learned that the plants will die. And with drawing, I always said that I can not draw, but people seem to tell me that I can, and well, I guess just like with gardening, you just need to practice.
All of my life I've been too intimidated by great artists to try making very much art myself. But sometimes I just can not resist the urge to doodle and draw. I always see things that i think would be so wonderful to paint, but don't because I doubt that i could do anything so beautiful. I would think that you would need to be able to draw to do anything like that. And, yes, it is hard, but anything worth doing and learning usually is. With practice, I learn more with every drawing.
Back in 2000, way before Youtube, I set out to try and figure it out more, and the public library is a great resource for all sorts of things including art and anything art related. At the library is where I started trying to figure out the whole process and what I must be missing. I read about art supplies and how to apply them, about great artists and studied my favorite artist, Reimbrandt. It was then that I decided that this was just a matter of practice.
It seems that the art bug only bites me with the change of the seasons or on certain holidays, and that I'm not always feeling it. At times like these I sometimes feel like I fail and it ruins my desire to try more. But it is only with practice that we can get better at things and for them to feel more natural, so I say, keep picking up that pencil and keep drawing, it is a matter of practice!
Pictured above is a self portrait from 2001, I was having a lot of trouble with faces and trying to learn by drawing more faces. I usually draw myself, so as not to offend anyone by messing up a drawing of their face, you know, mess up my own face. 😂
In February 2022, I got bit by that drawing bug again and wanted to try another self portrait, surprisingly it actually looks a lot like me, to the point that Google actually recognized it as me! With practice, I can feel and see how my drawing has improved.
So pick up those art tools and practice, practice, practice!
Thank you for stopping by.
Hope that you find joy and inspiration!
Best wishes and happy drawing!!
Ha!
If you have read this far, I would love to share;
I am not sure if it is just great algorithms or fate, but tonight, right after writing this today, I happened over to Youtube to watch some drawing videos. I'd watched a Silvie Mahdal tutorial before and she does beautiful art and art tutorials, so I clicked on this video of her drawing an eye and she happens to be talking about the same sort of thing that this post was about, except she puts it so eloquently and with so much heart and style. Just to watch her draw is mesmerizing! I highly recommend this video for any aspiring artist.
Cherished Memories
In honor of loved ones recently passed, I am reflecting back on precious family memories and cherished moments.
Two very special people that were near and dear to me were my Grandparents. Their love helped shape me into who I am and showed me many wonderful and beautiful things in this world. They were married my whole life and together to the end.
Striving to keep traditions going and growing!
Thank you for stopping by.
May you find joy and inspiration!
Best wishes and happy crocheting!!
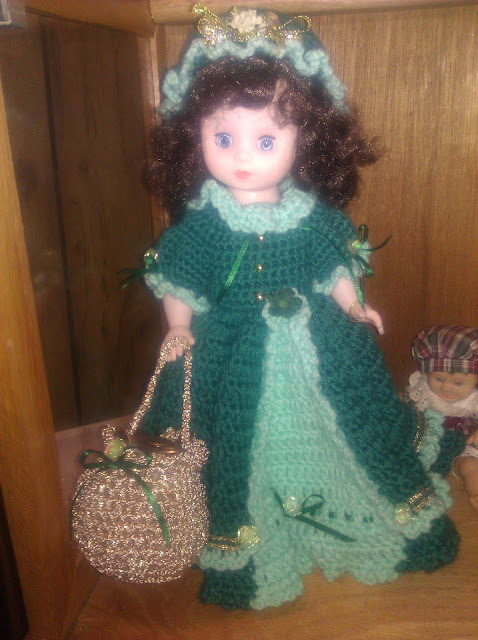
Dolls and cases created by Elizabeth Ann and Hugo Phillips.
We recently lost Allen, adopted son of Elizabeth and Hugo, too Covid. Along with Elizabeth's best friend Cathrine. They will all be dearly missed. Hope to see y'all again someday ♡ Much love!
Happy Valentine's
💖💖💖💖💖💖💖💖
💖💖💖♡ Happy Valentine's Day! ♡💖💖💖
Doily Designs ~ Lacy Layers of Love ~ February, 2021
💖💖💖💖💖💖💖
Thank you for stopping by.
May you find Joy and Inspiration!
Best wishes and Happy Valentine's Day!
💖💖💖💖💖💖💖💖💖💖💖💖💖💖💖💖💖💖💖💖💖💖💖💖💖💖💖💖💖💖💖
Lacy Layers of Love, February, 2021
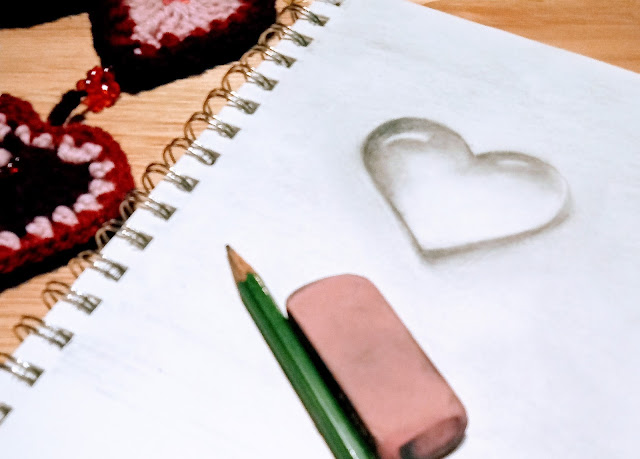
February Doodle
♡ Heart Doodle ♡
Neurographic Art
НейроГрафика ∾ Neurography
I am sure some of you are feeling the stress' of the past couple of years, and most of us could use a way to unwind. If you like to doodle, then maybe Neurographs could be a great outlet for you as well.
The basic idea here is that you meditate and put pen to paper. In one motion you draw lines. When you are done, you go back and soften all the corners of these lines everywhere there is a sharp point. Once there are no sharp edges, you can fill it in with colors, using whatever color application you are comfortable with. A lot of people use watercolors.
I would also recommend Neurographic Art website, as another place to start and find out more. Go to Neurography Art on that site, to hear Pavel Piskarev himself (in Russian), speak of this interesting style of art and its benefits, (with a rough written translation).
Alison Hazel Art does a nice job explaining and demonstrating this neurograph art idea and the basics on Youtube.
On this page are my first 2 Neurographic drawings. I hear that this type of Neurographic drawings are great for children. It seems that a lot of art teachers are introducing this technique in the classroom. Being a big believer of the importance of art education for youth, I could see the benefits of this strange new art introduced at a young age and being a great outlet for children.
You can also watch Art with Mrs Hibbs on Youtube about this neat idea, along with countless others sitting down and creating Neurographs.
Thank you for stopping by.
May you find joy and inspiration!
Best wishes and happy doodling!!
Crochet Dog Puppet Scarf
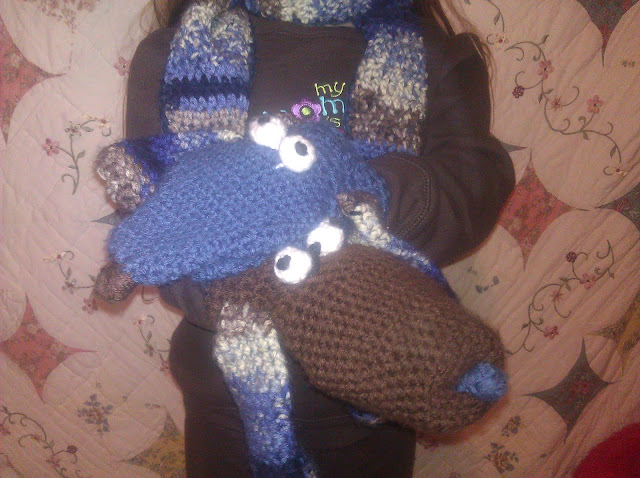
Scarf with adorable crochet puppy puppet mittens~
❅❄❆
This free pattern by Red Heart is available to download at Yarnspirations
Thank you for stopping by.
Easy Crochet Everyday Fingerless Gloves
Everyday Fingerless Gloves
Crochet Pattern
With the cold weather upon us, I wanted to share my quick and easy, hand warmer crochet pattern. I like the comfort of these gloves and the versatility of the pattern. Great for everyday wear. Please read through before you begin. You will want to make these hand warmers to fit you comfortably, and since everyone is shaped differently, this is a general guide. You will need to measure as you go.
Easy Crochet Everyday Fingerless Gloves
Pattern by Doily Designs Cathleen Wake Gorbatenko ©2021
Written in US crochet terms (Downloadable pattern free on Google Docs)
Skill: Intermediate (experienced beginner, easy crochet)
Size: G (7-4.5mm) hook
Yarn: one skein, size 4, worsted weight yarn (I used; Caron Simply Soft and other soft size 4 worsted weight yarn)
Stitch key
Ch: Chain
Sl st: Slip stitch
Sc: Single crochet
Hdc: Half Double Crochet
Note that Ch 2 at end of rows counts as Hdc
Helpful notes: (Pattern follows below)
* Instructions are for Medium women's size gloves. To make smaller or larger gloves,
add or subtract multiples of 2 to your chain,
* Measuring the chain against your hand as you go.
* Do not stretch the chain when measuring.
* You will make a rectangle until you have reached your desired size, measure the
rectangle, long ways around your hand, continue until it feels comfortable, but not
loose.
* Once you reach the desired fit, you will join the rectangle with a seam using a Sl st,
leaving a hole for the thumb.
* Wrist cuff is then crocheted around the bottom, continuing to desired length of
cuff. (I find the short cuff works best for this glove.)
* You will finish with optional scalloped edge, Sc, or you can leave it as is.
Note: Each chain at end of row, counts as 1st st in next row. Make sure to do this chain loosely, this will help get the hook in the Ch sp, as needed, see below; Hdc into 2nd turning Ch.
Easy Crochet Everyday Fingerless Gloves
Pattern by Doily Designs Cathleen Wake Gorbatenko ©2021
Written in US crochet terms (Downloadable pattern free on Google Docs)
Skill: Intermediate (experienced beginner, easy crochet)
Size: G (7-4.5mm) hook
Yarn: one skein, size 4, worsted weight yarn (I used; Caron Simply Soft and other soft size 4 worsted weight yarn)
Stitch key
Ch: Chain
Sl st: Slip stitch
Sc: Single crochet
Hdc: Half Double Crochet
Note that Ch 2 at end of rows counts as Hdc
Helpful notes: (Pattern follows below)
* Instructions are for Medium women's size gloves. To make smaller or larger gloves,
add or subtract multiples of 2 to your chain,
* Measuring the chain against your hand as you go.
* Do not stretch the chain when measuring.
* You will make a rectangle until you have reached your desired size, measure the
rectangle, long ways around your hand, continue until it feels comfortable, but not
loose.
* Once you reach the desired fit, you will join the rectangle with a seam using a Sl st,
leaving a hole for the thumb.
* Wrist cuff is then crocheted around the bottom, continuing to desired length of
cuff. (I find the short cuff works best for this glove.)
* You will finish with optional scalloped edge, Sc, or you can leave it as is.
~Easy Everyday Fingerless Glove Pattern~
Pattern written for Medium gloves. Add or subtract, multiples of 2 for larger or smaller gloves, measuring as you go.
Fnd: Ch 18, turn. (16 + 2)
Row 1: Hdc in 4th Ch from the hook, Hdc in each Ch across, Ch 2, turn. (16 Hdc)
Row 2: Hdc in each Hdc across, Ch 2, turn. (16 Hdc)
Repeat Row 2 until rectangle fits snuggly around hand.
I do 20 rows for size Medium (pictured).
Keep in mind that you do not want it to be loose, and that it will stretch a tiny bit. It is better to take a row out and make it a little more snug than to leave a row if it is loose, unless you like a loose fit.
Join sides together at upper edge with a Sl st, and Sl st to thumb hole, for medium this is 6 sts to thumb hole from the top of the glove. Join new strand with Sl st on other side of thumb hole, 3 sts for medium, I start this join in the 3rd st from the bottom edge of the glove, join with Sl St in 3 sts and Sl st in 3 sp to the edge of the glove, then continue around the bottom edge. Note that you could fasten off and join at each new point if you would prefer.
Turn right side out, with seam on the inside, and try on. If satisfied, continue around bottom to start on wrist cuff, working with right side out.
Wrist: Continuing around edge from the side join, (or join with sl st where seam joins at the bottom of the glove), Ch 1, Sc around every Hdc, so here I will do 20 Sc around the bottom of the glove since I did 20 Hdc, joining in 1st sc, without turning, Ch 2, Hdc in each Sc around. Join in 2nd st of turning Ch, equalling 20 Hdc. Repeat until desired length of wrist band is reached. Pictured are 8 rnds. You can do more or less rounds for desired length. Continue with the wrist cuff until you reach the length you want, try on the glove, when satisfied, fasten off, or continue with edging.
For the edge, you could do a Sc around each outer edge, try the small scallop edge below, or do your own thing.
Optional Scallop Edge on Top: Join at seam on top edge of the glove, Ch 1, *Skip 1 st, 3 Sc in next st*, repeat * to * around, join in 1st st. Fasten off. Weave ends.
Have fun with them!
I like the comfort of these gloves and the versatility of the pattern. Great for everyday wear.
Please email with questions or comments.
Thank you for stopping by.Hope that you find joy & inspiration!Best wishes and happy crocheting!!
Join sides together at upper edge with a Sl st, and Sl st to thumb hole, for medium this is 6 sts to thumb hole from the top of the glove. Join new strand with Sl st on other side of thumb hole, 3 sts for medium, I start this join in the 3rd st from the bottom edge of the glove, join with Sl St in 3 sts and Sl st in 3 sp to the edge of the glove, then continue around the bottom edge. Note that you could fasten off and join at each new point if you would prefer.
Crochet Spa Sets
Cranberry Pineapple Crochet Christmas Tree Skirt Pattern
⭐ Doily Designs Cranberry Pineapple Crochet Christmas Tree Skirt Pattern One of a kind tree skirt is an eye catching take on the classic ...

-
Mint Chocolate Chip Crochet Mandala Doily Pattern Mint Chocolate Chip Mandala Doily Pattern by Doily Designs, Cathleen Wake Gorbatenko ©2014...
-
🍄🍄🍄🍄🍄🍄🍄 Crochet Yoshi Hat & Costume ~~~~ 🍄🍄🍄🍄🍄🍄🍄~~~~ All of my children really li...


